How to Install Nextcloud on Ubuntu

There are many online file storage services such as Google Drive and Dropbox. However, these are run by third parties, which means that you often don’t have control over the data you’ve uploaded. Fortunately, there are many privacy-aware, open-source alternatives that you can host on your own server. One of them is Nextcloud, a PHP-backed application that allows you to access files over a web interface and WebDAV.
In this article, we’ll learn how to install Nextcloud on a server running Ubuntu.
Installing Nextcloud via Snap
Installing Nextcloud via Snap is extremely easy. Snap is a new packaging technology that allows developers to ship software with multiple dependencies as a single package. Unfortunately, this method uses up port 80 (or 443 when using HTTPS) and you can’t change this. If you need to host multiple web applications at the same time on ports 80 or 443, use the manual installation method outlined below.
In the latest version of Ubuntu, Snap is installed by default. However, if it is not installed, run the following command:
sudo apt install snapdThe Snap package comes with its own, bundled version of Apache which runs on port 80. If you have an existing web server, you should first remove it before continuing.
Next, run the following command:
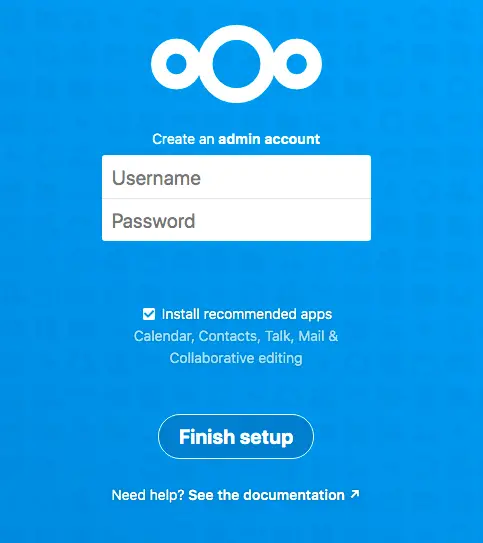
sudo snap install nextcloudAfter installation has been completed, you may visit localhost in your browser. On the web page that opens, fill in the username and password to set up an administrator account.
Now, you’ll be logged in to Nextcloud. You can now upload files to your Nextcloud installation and change its settings from the admin panel.
The Snap package also include a number of CLI utilities. These commands need root permissions to work, so you should add sudo before each command when you run them.
- With
nextcloud.enable-https, you can configure the built-in Apache server to use HTTPS. You can use a custom certificate, or it can obtain one from Let’s Encrypt. To disable HTTPS, you should runnextcloud.disable-https. nextcloud.mysqldumpandnextcloud.mysql-clientallows you to interact with the built-in MySQL server. You can retrieve and change the data stored in the database with these commands.nextcloud.occis the Snap version of Nextcloud’socctool. You can manage users and settings with this tool.
Manually installing Nextcloud
Setting up the prerequisites
Here, we will install Nextcloud along with Apache and MySQL manually. You can install each of these components separately, or you can use the lamp-server task to install all of them at one go:
sudo apt update
sudo apt install -y lamp-server^ php-zip php-mbstring php-dom php-gd php-curl
After the installation completes, you should enable the rewrite and headers modules. This is necessary for Nextcloud to work correctly.
sudo a2enmod rewrite headersThen restart Apache for the changes to take place:
sudo systemctl restart apache2Configuring MySQL
The next step is to configure MySQL. First, you should log into MySQL as the root user.
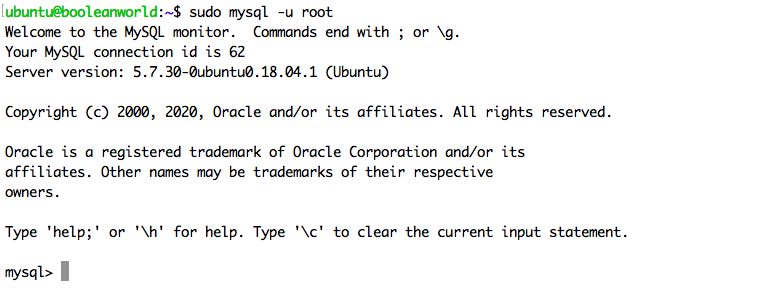
sudo mysql -u rootWhen you run the above command, the MySQL monitor should open, like so:
Now, you have to create a new database in which Nextcloud will store information. This can be done with:
CREATE DATABASE nextcloud;Now, you should also create a new MySQL user which Nextcloud will use to access the database. We’ll name the user nextcloud and assign it a password of superstrongpassword:
CREATE USER nextcloud@localhost IDENTIFIED BY 'superstrongpassword';Then, you should grant the newly made account with all permissions to the database:
GRANT ALL PRIVILEGES ON nextcloud . * TO nextcloud@localhost;Keep a note of the username and password that you’ve used here — you’ll need them in the next section.
Install Nextcloud
Next, head over to the Nextcloud downloads page and download the latest ZIP file with wget or curl. Depending on the current version, the URL will vary. Here, we’ve downloaded the ZIP file for version 12, which is the latest release at the time of this writing.
wget https://download.nextcloud.com/server/releases/nextcloud-19.0.0.zipThen, unzip the downloaded file into your web directory. Typically, this would be in /var/www/html, although you can provide another directory if your web directory is located elsewhere.
sudo unzip -d /var/www/html nextcloud-19.0.0.zipThis will create a directory named nextcloud inside /var/www/html. This will make Nextcloud available under http://<your_server_name>/nextcloud. If you wish to make this directory available elsewhere, you can use the mv command to rename the nextcloud directory.
After extracting the file, you have to set the owner of the extracted files to the Apache user, www-data:
sudo chown -R www-data: /var/www/html/nextcloudAfter you have completed the above steps without any issues, open your browser and type http://<your_server_name>/nextcloud in the address field. You should see a setup screen like the one below.
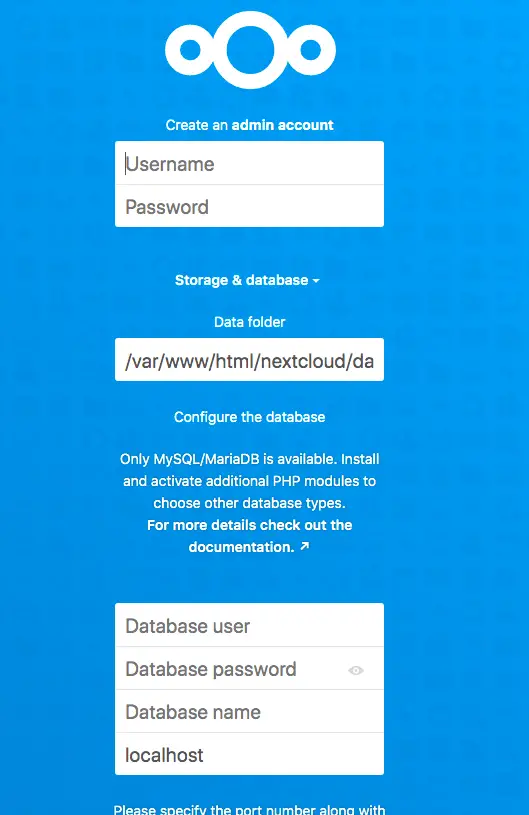
In the username and password fields at the top, you should fill in the details of the Nextcloud administrator account that will be created. You can manage various aspects of Nextcloud from this account.
The data folder setting controls the folder in which user’s files are saved in. You can leave this setting as-is.
Next, fill in the details for the database. In our case, the database user and name will be nextcloud, and the password will be superstrongpassword.
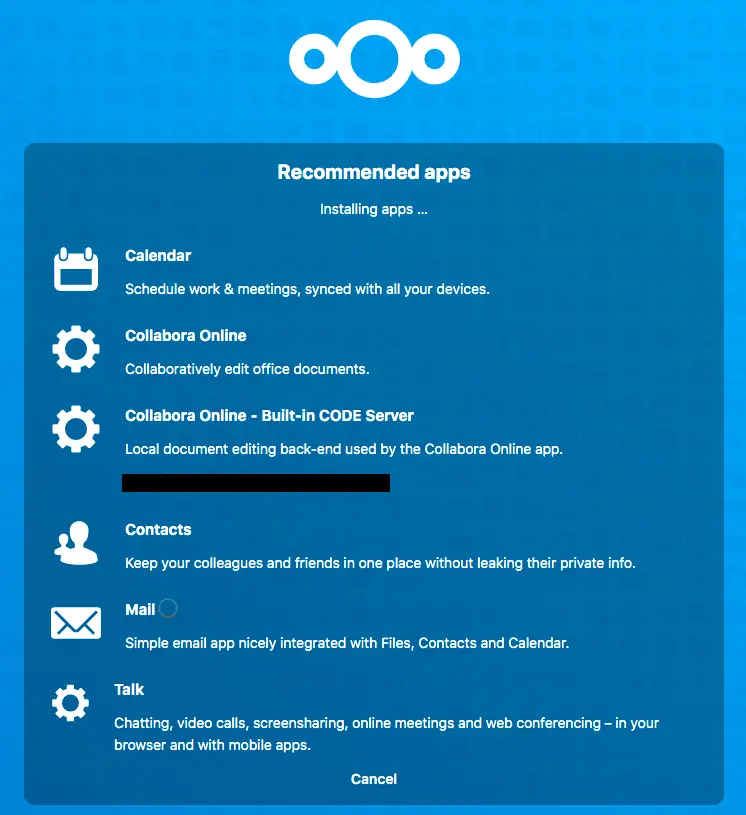
Now, scroll down and click on the “Finish setup” button to complete installation. You’ll be taken to the recommended apps page, where Nextcloud will take a few minutes to install apps like a calendar and contacts app. This will happen automatically without you having to do anything.
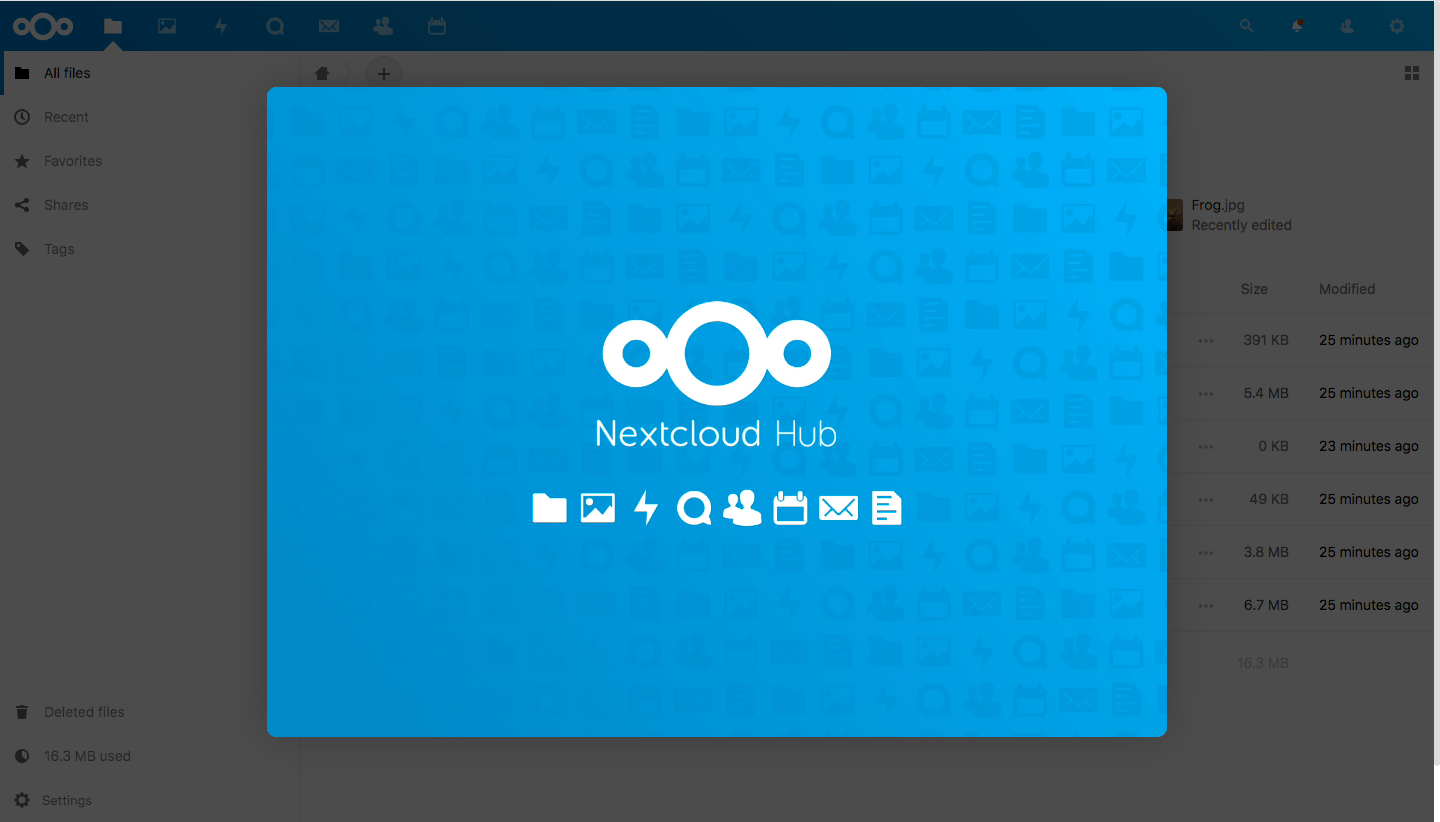
Once the installation is complete, you will be taken to the files page, where you will see a message about “NextCloud Hub” like so. Dismiss it by clicking on the “Close” button at the top, or by clicking outside the Nextcloud Hub message.
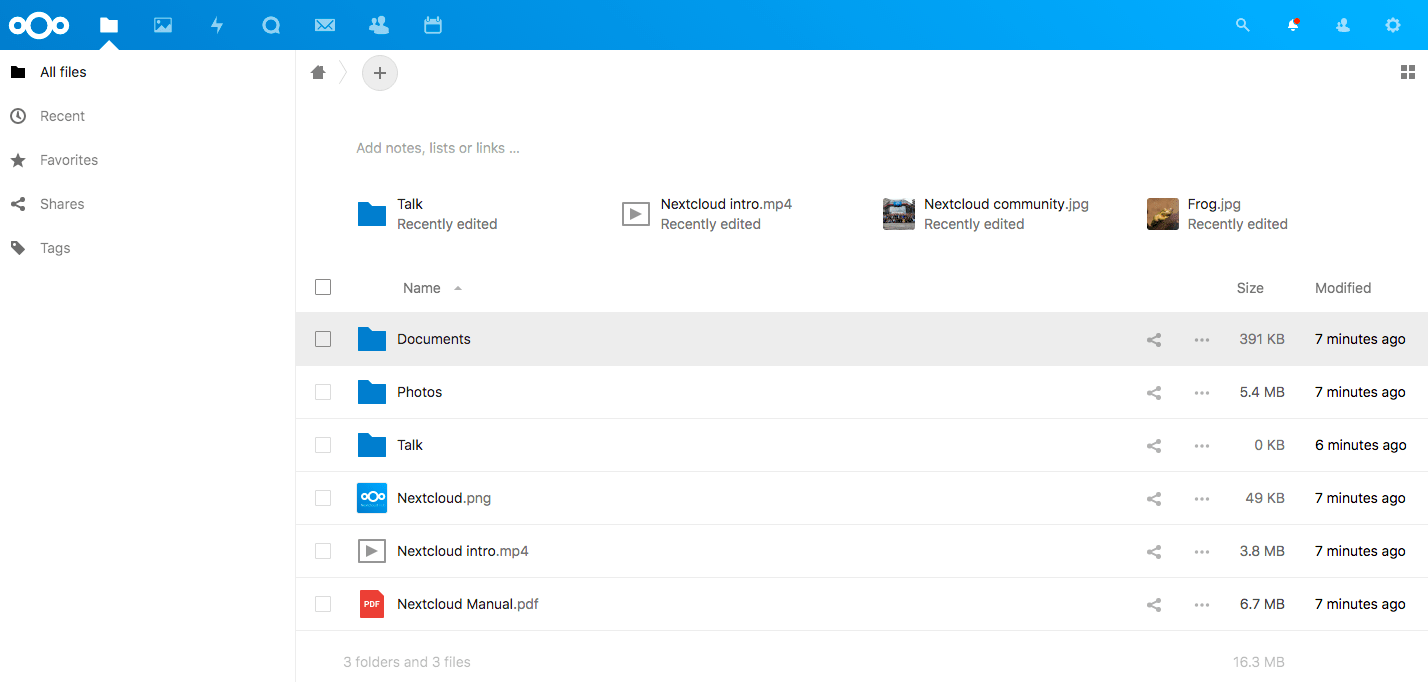
Finally, you will see the “files” page, where you can upload, delete, and modify files:
If you’ve run all these steps without problems, congratulations! Nextcloud has been successfully installed on your server. We recommend you to go through the Nextcloud Manual, which explains all the functionality available.
Conclusion
Nextcloud is a great alternative to proprietary services such as Google Drive and Dropbox. It also provides a set of apps which you can install to extend its functionality in various ways. There are also apps for iOS and Android which you can use to access your files on the go.
Now that you’ve set up Nextcloud, why not configure HTTPS so that your files are secure while in transit? Check out our guides on configuring HTTPS with Cloudflare and Let’s Encrypt to find out more.