How to Install WordPress on Windows with XAMPP
WordPress is a great Content Management System. It can be used to create nearly all kinds of websites ranging from blogs to e-commerce websites. In order to use Wordpress, we also need to install and configure a web server and a database. The Apache Friends project provides a software package named XAMPP, which comes with Apache, PHP and MySQL pre-configured out of the box.
In this post, you will learn how to install Wordpress on a Windows computer using XAMPP.
Install XAMPP
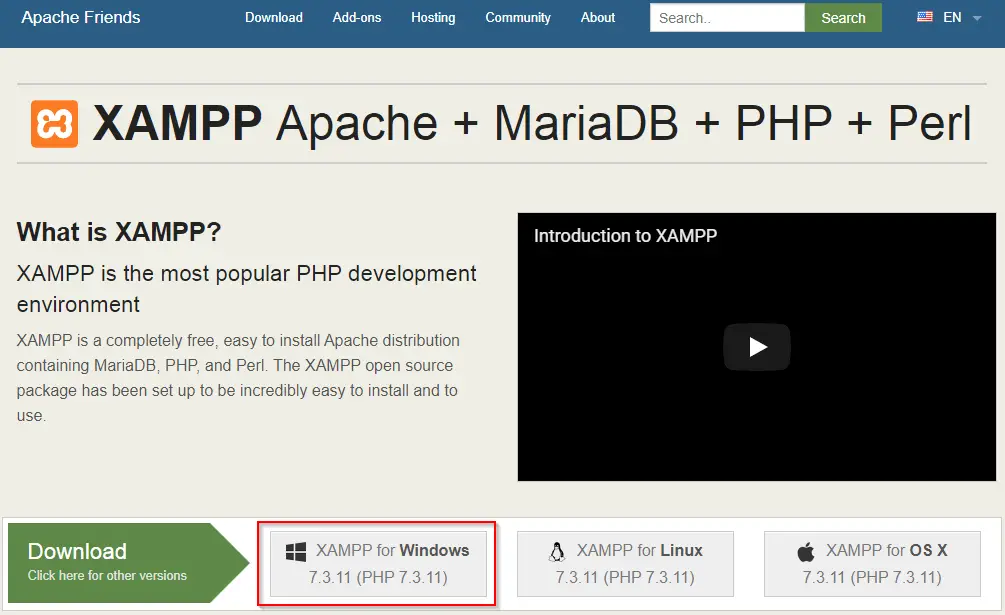
The first step is to install the XAMPP package. Go to the Apache Friends website and download the latest Windows version.
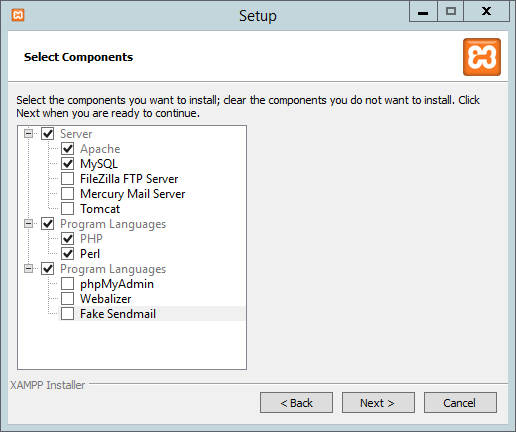
 Once the download is complete, run the executable installer file. You will be prompted to check the components that you wish to install. To run WordPress, the minimum components we need PHP, MySQL, Perl and the Apache web server. If you want, you may uncheck the rest of the components.
 Complete the rest of the installation steps by following through all the steps in the installer. The default settings suggested are fine. Once the installation is complete, you should launch the “XAMPP Control Panel”.
The control panel allows you to start and stop the web server, change configuration settings, and view server logs. You can launch the XAMPP Control Panel through the following steps:
- Press the Windows + R keys to bring up the “Run” dialog box.
- Enter
C:\xampp\xampp-control.exein the dialog box, and hit Enter.
If you have changed the XAMPP installation path when installing it, you would need to replace C:\xampp with the path where you installed it.
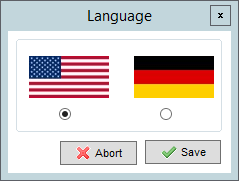
The XAMPP Control Panel will start up, and prompt for the language of your choice. Select a language of your choice and click “Save”.
The control panel allows you to can start and stop the web server, change configuration settings and view server logs.
Now, we’ll check whether the server is working. Click on the start button for Apache and MySQL on the control panel. The Windows firewall (or any other antivirus installed on your system) may warn you at this point. Be sure to click “Allow” (or a similar option) so that the web server works properly.
 Next, open your favourite browser and navigate to
 localhost, which tells your browser to connect to the website hosted on your own computer. If the setup was successful, you should be able to see the default web page, as shown in the screenshot below:
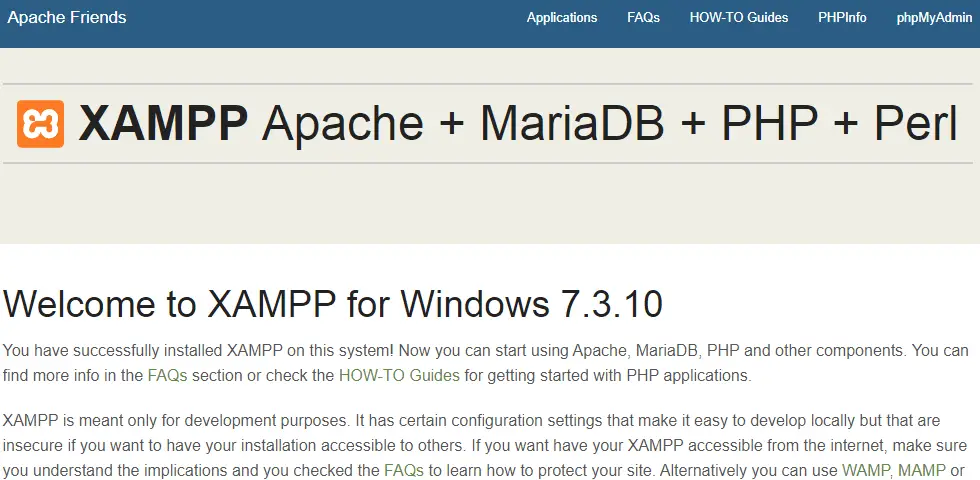
If you can see this page, this means you were able to install XAMPP successfully. Now, before we move on to installing WordPress, we need to set up MySQL, since WordPress stores your website’s pages in MySQL.
Setting up the database
Setting up the database consists of two steps — securing MySQL’s “root” account and then setting up a user and a database for Wordpress.
Securing the database
MySQL comes with a database administrator account called “root”. However, by default, XAMPP doesn’t use a password to protect this account. This is bad, because if a hacker gained access to your website, they can log in as the “root” user (with no password to protect it) and change or delete databases.
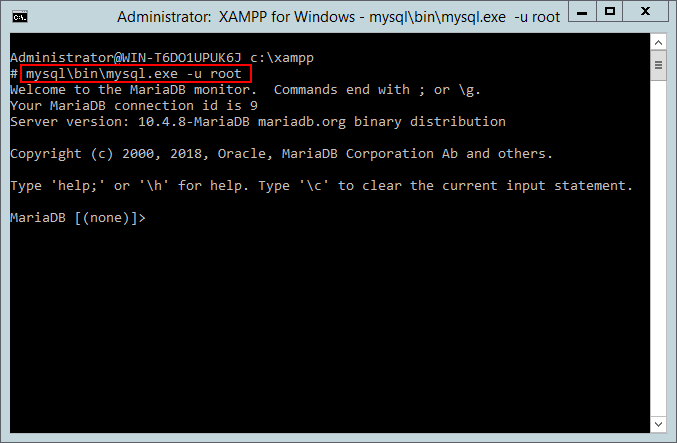
To secure the MySQL database, click on the “Shell” button in the XAMPP Control Panel, and type in:
mysql\bin\mysql.exe -u rootYou will be logged into MySQL, as shown below:
Next, decide on a root password since we’ll use it to protect MySQL. You should also note down this password, as you may need it when installing other applications on your XAMPP server.
We’ll assume that the password you chose is myrootpassword. Run the following command to set the root password:
alter user root@localhost identified by 'myrootpassword';Don’t just close the shell window yet — we’re going to need it in the next section.
Setting up users and databases
Now, we need to create a database into which WordPress stores all its data, and a separate MySQL user for WordPress. WordPress will use our newly created user to talk to MySQL and store information in it.
First, we’ll create the database with the following command:
create database wordpress;Next, we’ll create an user account for Wordpress to connect to the MySQL database. Here, we’ve used an username wordpress and password of wordpressdatabasepassword. This password shouldn’t be the same as the root password.
create user wordpress@localhost identified by 'wordpressdatabasepassword';Finally, we need to give this user to operate on the wordpress database:
grant all privileges on wordpress . * to wordpress@localhost;Now that our database setup is complete, type exit and close the shell window.
Installing WordPress
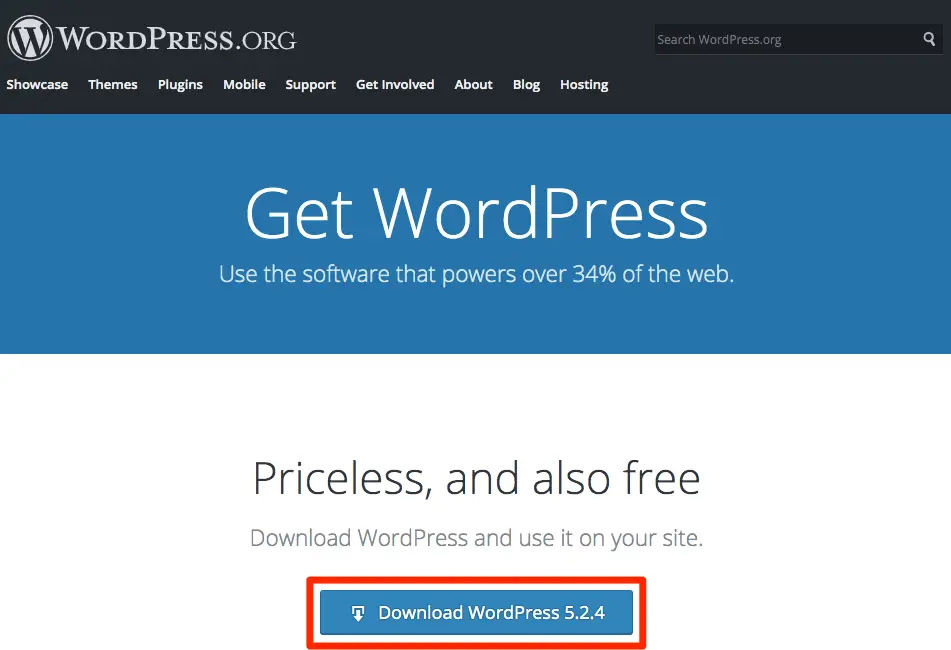
Head over to the WordPress download page and download the ZIP file.
Then, head over to XAMPP’s “htdocs” folder. You can do this easily by pressing Windows + R to bring up the Run button, and then typing in C:\xampp\htdocs and hitting Enter.
Once you’re in the “htdocs” folder, remove all the existing files, and extract the WordPress ZIP file into this folder. You will end up with a single folder named “wordpress” inside the “htdocs” folder.
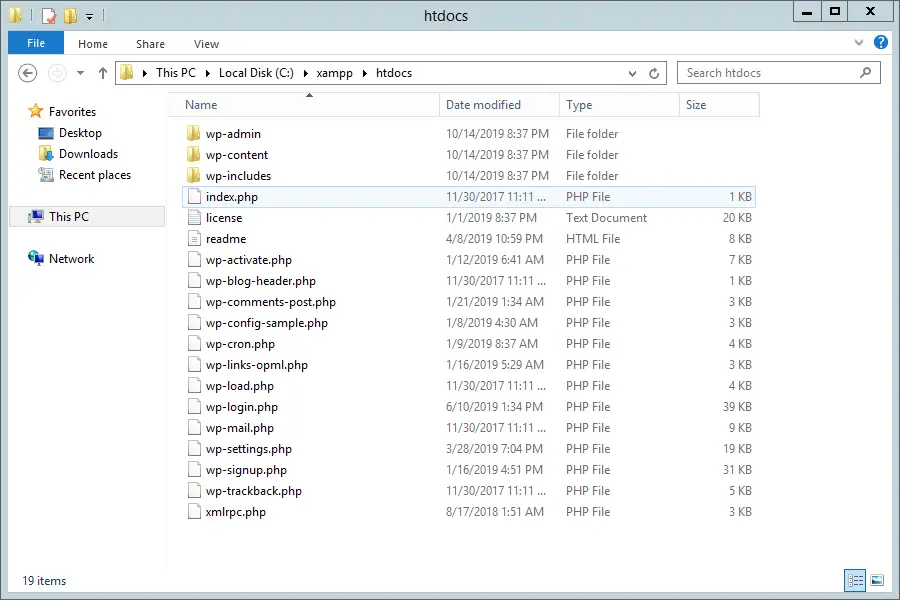
Now, go inside the “wordpress” folder, and “cut” all the files and folders. You can do so by pressing Ctrl+A followed by Ctrl +X. Then, go back to the “htdocs” folder and paste the files that you had cut previously. You can paste by pressing Ctrl+V. Then, you can delete the old WordPress folder, which is now empty since we’ve removed all the files from it.
You will end up with all the WordPress files directly under the “htdocs” folder, like so:
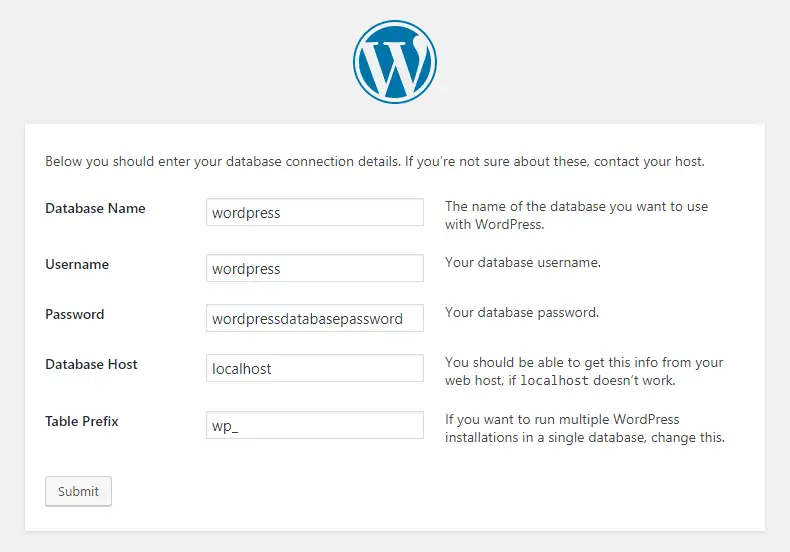
Now, point your browser to http://localhost/ to begin the setup. Set your preferred language and click on Continue. Then, you will be asked to enter your database configuration. Enter the database name and username as wordpress. In the password field, enter the password you’ve set for the MySQL wordpress user. Then, click on the Submit button to continue.
In the next page, you will be asked to give your site title, email, username and password. You need to remember them as these are the credentials that you will need to login to the WordPress admin panel.
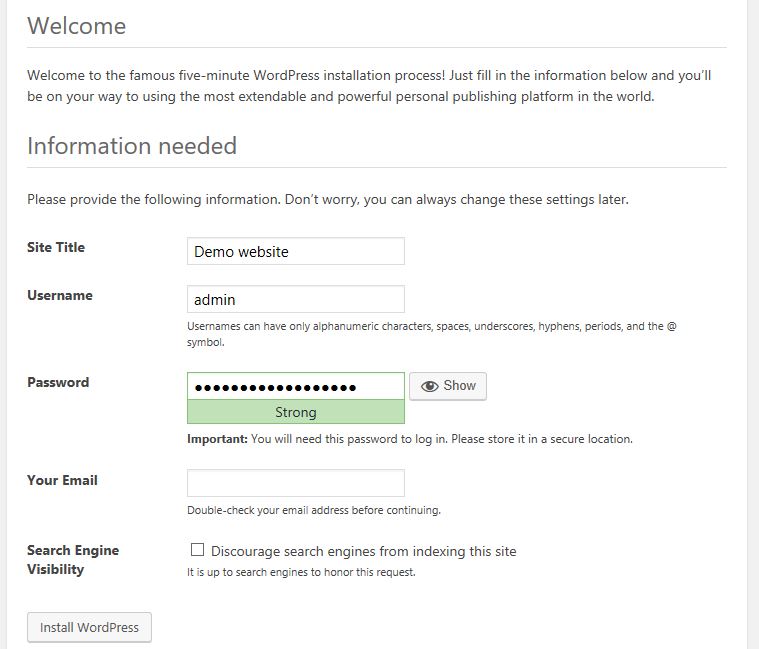
Finally, click on “Install WordPress”. You will be redirected to a page confirming that WordPress has been installed.
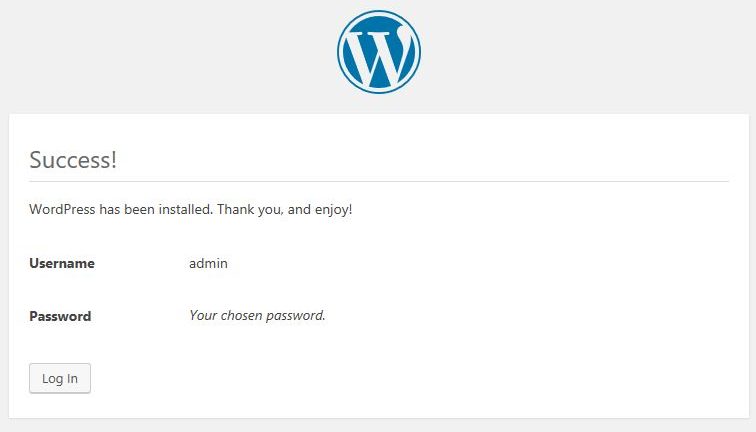
Now click on Log in and enter the username and password that you just set in the previous step. Alternatively, you may visit http://localhost/wp-admin to open the login screen.
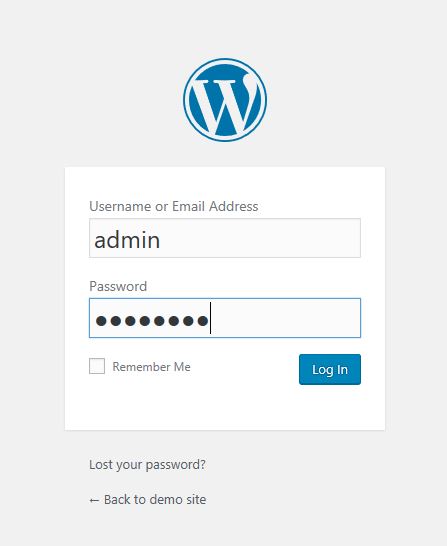
Log in with your username and password and you will be presented with the WordPress admin panel.
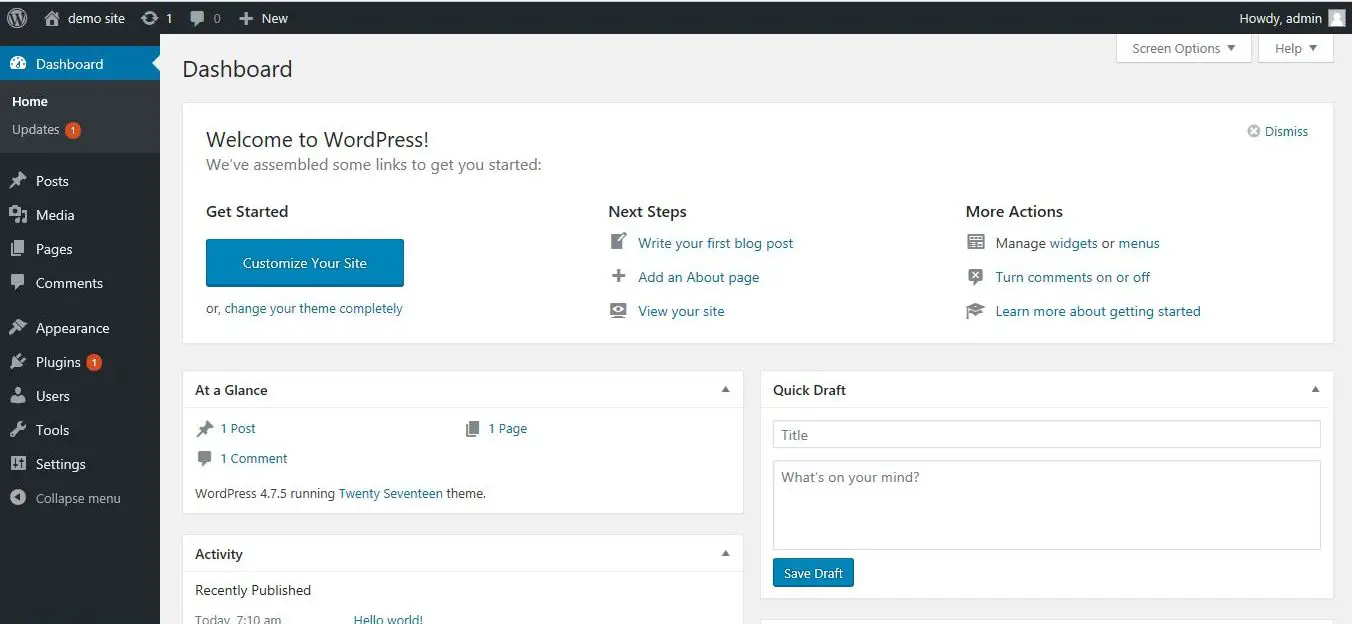
Voila! You have successfully installed WordPress locally using XAMPP. To view the site, go to http://localhost/. The default website can look different for you, as WordPress ships new themes with latest versions of WordPress.
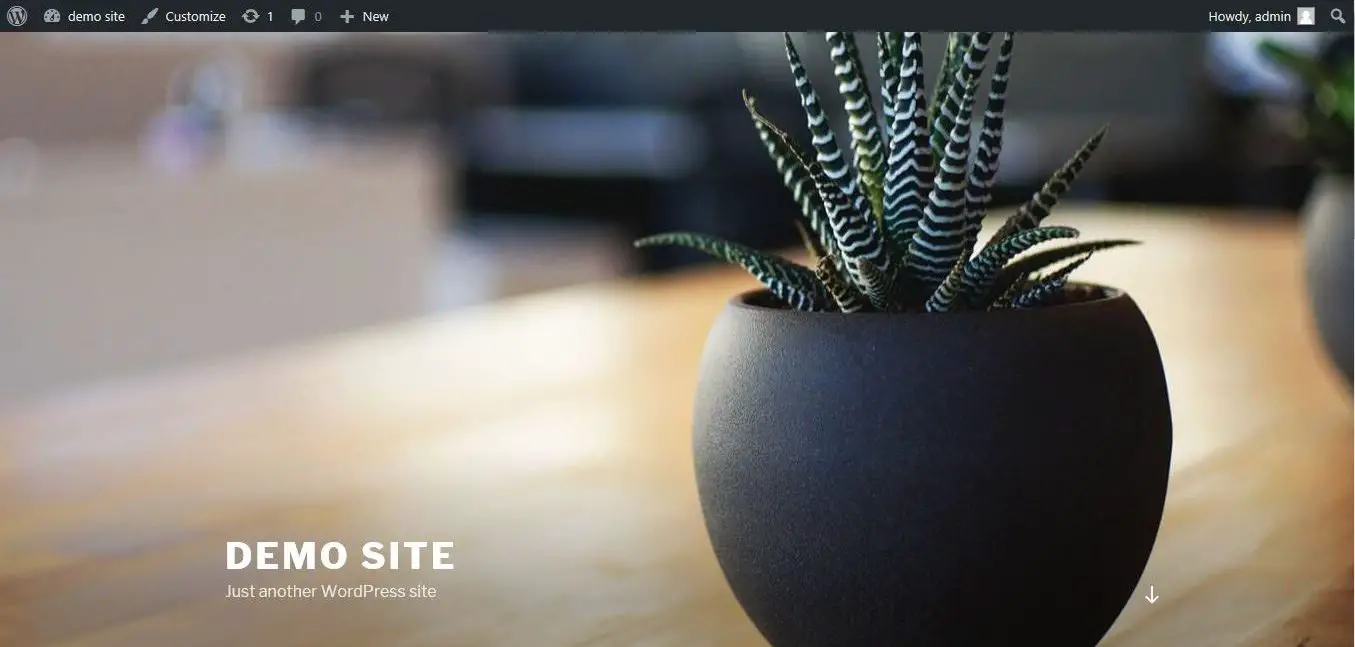
At this point, you have a fully working WordPress installation. You may want to experiment with various themes and plugins, play around with the various settings, and build your website.