How to Speed up Your Website up to 85% Using AMP

We all have the experience of loading resource intensive sites in patchy networks. The truth is, the pages take forever to load! This has been a big problem for web developers especially if the target country of the website had slow overall internet speeds. The engineers at Google came up with a unique solution called Accelerated Mobile Pages (AMP). Using AMP, pages load just in an instant. In this article, we will see how to enable AMP for your site but first, let’s see how AMP works.
Working of AMP:
The following points illustrate the mechanism behind working of AMP pages.
- Block native JS of the page- Javascript is the main culprit for lingering the DOM of the website. AMP modifies this with its custom asynchronous scripts that do not slow down the rendering.
- Extension mechanisms can’t block page rendering- extensions like lightboxes, Instagram embeds, tweets, etc. require additional HTTP requests. AMP has its custom script tags for these extensions like
amp-iframeso that the DOM is aware that there is an iframe in the page and create an iframe box even before the iframe loads. - Pre-defined size for external resources - Many style recalculations take place when a page is rendered as the CSS dynamically changes as it loads. To avoid this, sizes of the external resources such as ads, images, videos are explicitly defined before they are downloaded.
- Sandboxing third-party external javascript- AMP grants access to third party JS only in sandboxed iframes so that they don’t interfere with the main DOM.
- Inline CSS - Having external CSS files increases the HTTP requests which slows down rendering. AMP only allows inline CSS to minimise the number of HTTP requests from the critical rendering path, thereby increasing the speed considerably.
- Font Optimisations - In general, the font is loaded after most of the CSS and JS files are loaded. AMP makes the font request as the first HTTP request before any other request as soon the page starts loading. So the font loads before the other scripts.
- Handling Animations - Animations are restricted to only two methods: transform and opacity. This ensures that the browser does not require page layouts, and the animations are handled by the GPU itself thereby increasing the performance.
- The three Ps - Preconnect, Prerender and Prefetch are used in a smart way by AMP to save bandwidth and CPU cycles by only downloading resources above the fold. Using this, a page is rendered before the user visits the page. So when the user visits the page, it instantly loads up!
- Progressive loading of resources - AMP loads only the resources that are needed eliminating many unnecessary roadblocks. AMP also prefetches lazy loaded resources when the network and CPU are idle. This makes the content available to the users very quickly and efficiently.
The above points are beautifully presented by Malte Ubl at Google IO 2016 in the following video.
Enough of the working principle. Now let’s see how to use AMP for your website.
The post is split into two parts: The first part will show how to use AMP in WordPress sites and in the second part we will see how to write an AMP friendly website from scratch.
Part 1: AMP for WordPress websites
Using AMP in WordPress is easy as pie. Here are the steps:
- Install AMP plugin by Automattic.
- (Optional) Install Glue for Yoast SEO & AMP if you are using Yoast SEO plugin. It also has other features like customising the default color options for AMP pages.
That’s it! You have set up AMP on your website. To check if it is working,
navigate to any post in your site and add /amp at the end of the URL.
For e.g., If your post has URL like https://example.com/blog/article then replace it with https://example.com/blog/article/amp
It should show the AMP version of the page.
For validation see step 3 of part 2 below.
NOTE: The AMP page will not work for the root domain of your WordPress site. It will only work for the post pages since AMP is designed for blogs or news websites which contain a lot of content and not intended to be used for promotional pages featuring products, company websites, or personal portfolio websites.
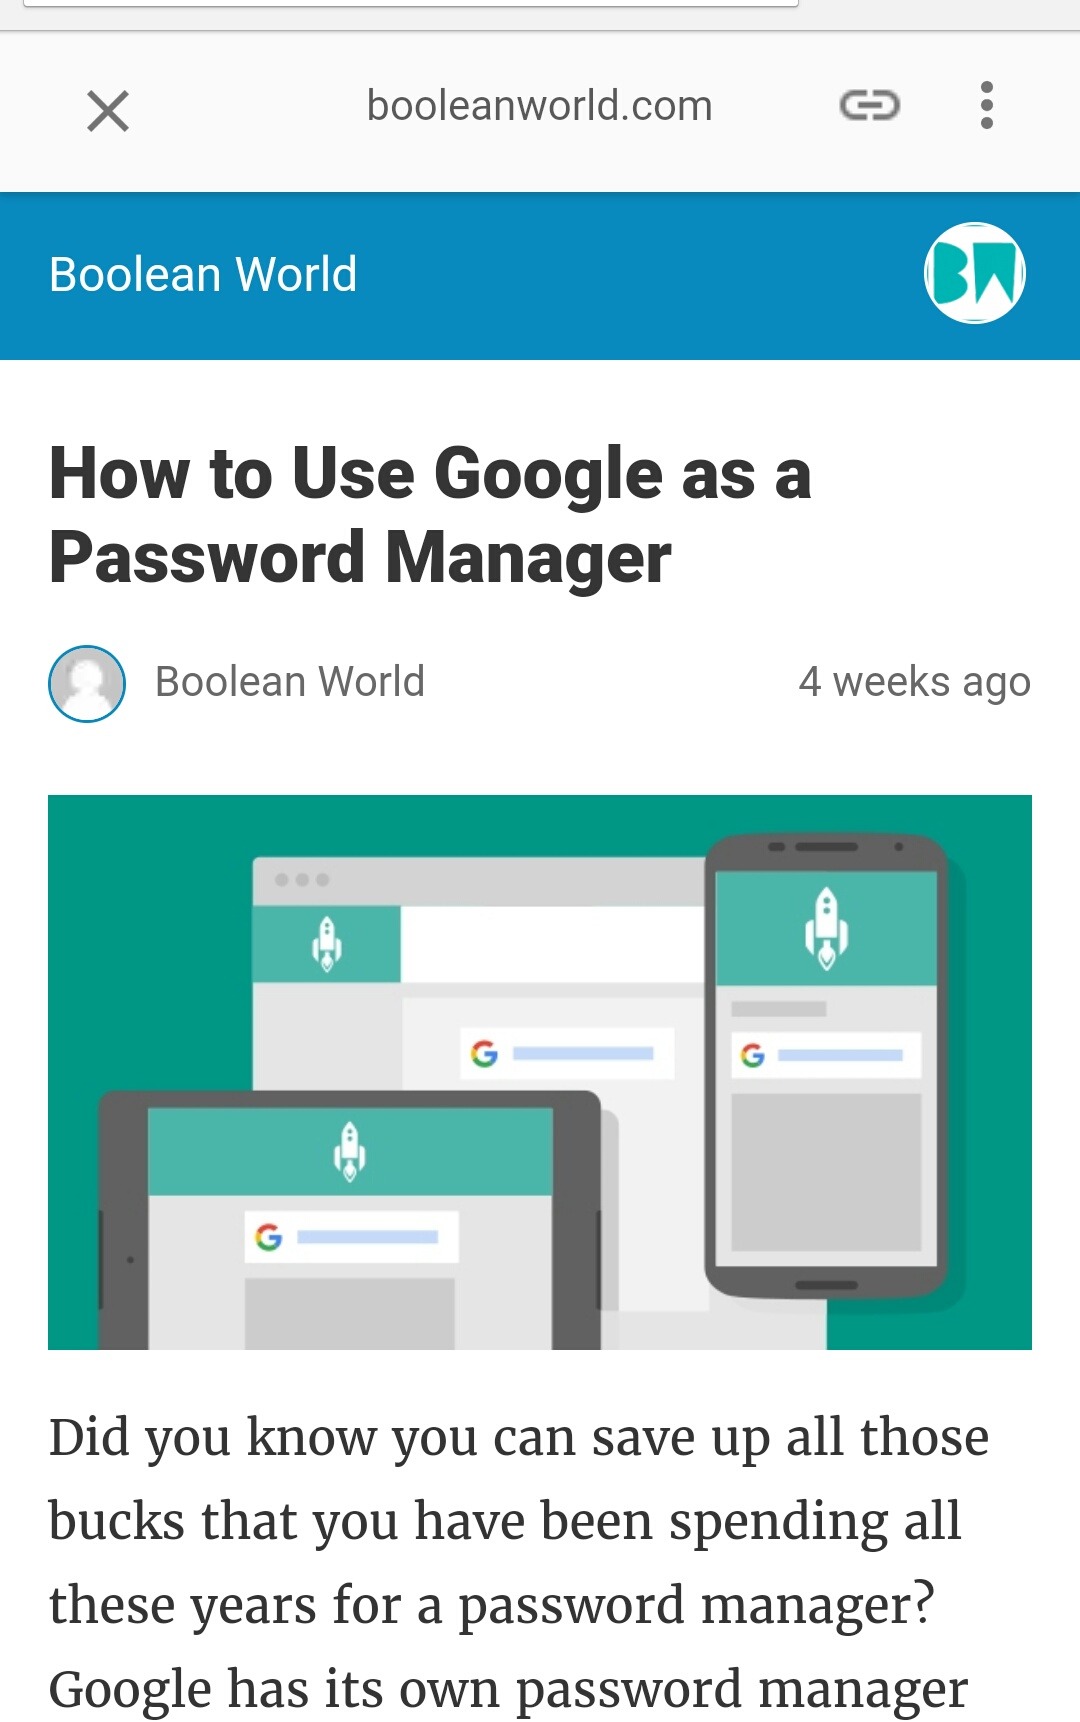
AMP version of a Boolean World article
Part 2: Building an AMP friendly website from scratch
We will be following along the official Google guide. For more details, you can visit the link given. You must be familiar with HTML. Knowledge of CSS and Javascript is also helpful.
Step 1: Create an HTML file and add the following code to it. This forms the base for our AMP website.
Step 2: To add images to your site, use the following tag:
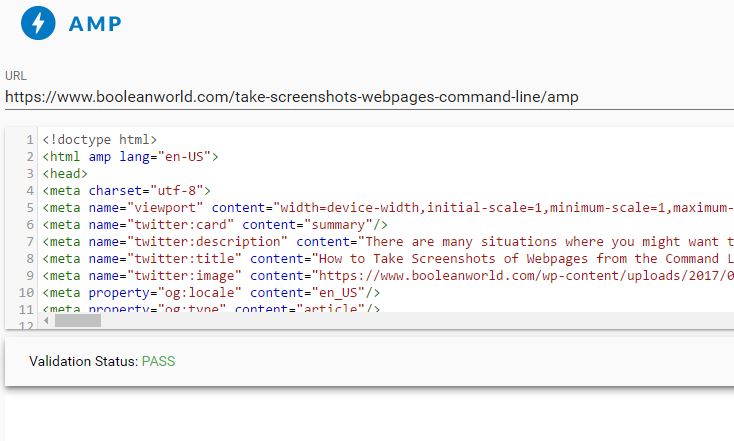
<amp-img src="image.jpg" alt="alternate-text" height="500" width="800"></amp-img>You may have noticed that the conventional<img>tag has been replaced withtag. Many of the conventional tags are replaced with custom amp tags, and many are not allowed in AMP. The reason for this is preloading and prioritising resources For a list of tags that are replaced or disallowed visit here. Step 3: Validate your code - Now, that the HTML file is created, we need to see if there are any errors in the code. Copy the entire code and visit https://validator.ampproject.org. Remove the contents of the text area and paste your code there. Then click on Validate, and it will immediately show the details for any errors. Alternatively, if you have already published your page you can directly enter the URL in the field given.
Step 4: Discovery of AMP pages - This is one of the most crucial steps that enables Google bot to discover the AMP pages and show them in the search results.
- If you have one AMP and one non-AMP version of the same page, you need to be link them together. In the non-AMP version of the page add the following line of code:
<link rel="amphtml" href="https://www.example.com/ampversion.html">Replace the example.com URL to add the address of your non-AMP version of your page.Now, in the AMP version of your page add the following line of code:<link rel="canonical" href="https://www.example.com/fullversion.html">Similarly, replace the example.com URL to add the address of your non-AMP version of your page. - If you have made only one version of the page and that is an AMP version, add the following line of code:
<link rel="canonical" href="https://www.example.com/url/to/amp/document.html">Now perform the previous step of validation again to check for any errors. The AMP page is now ready to publish and should be discoverable by Google.
- If you have one AMP and one non-AMP version of the same page, you need to be link them together. In the non-AMP version of the page add the following line of code:
For further customizations, visit the official guides.
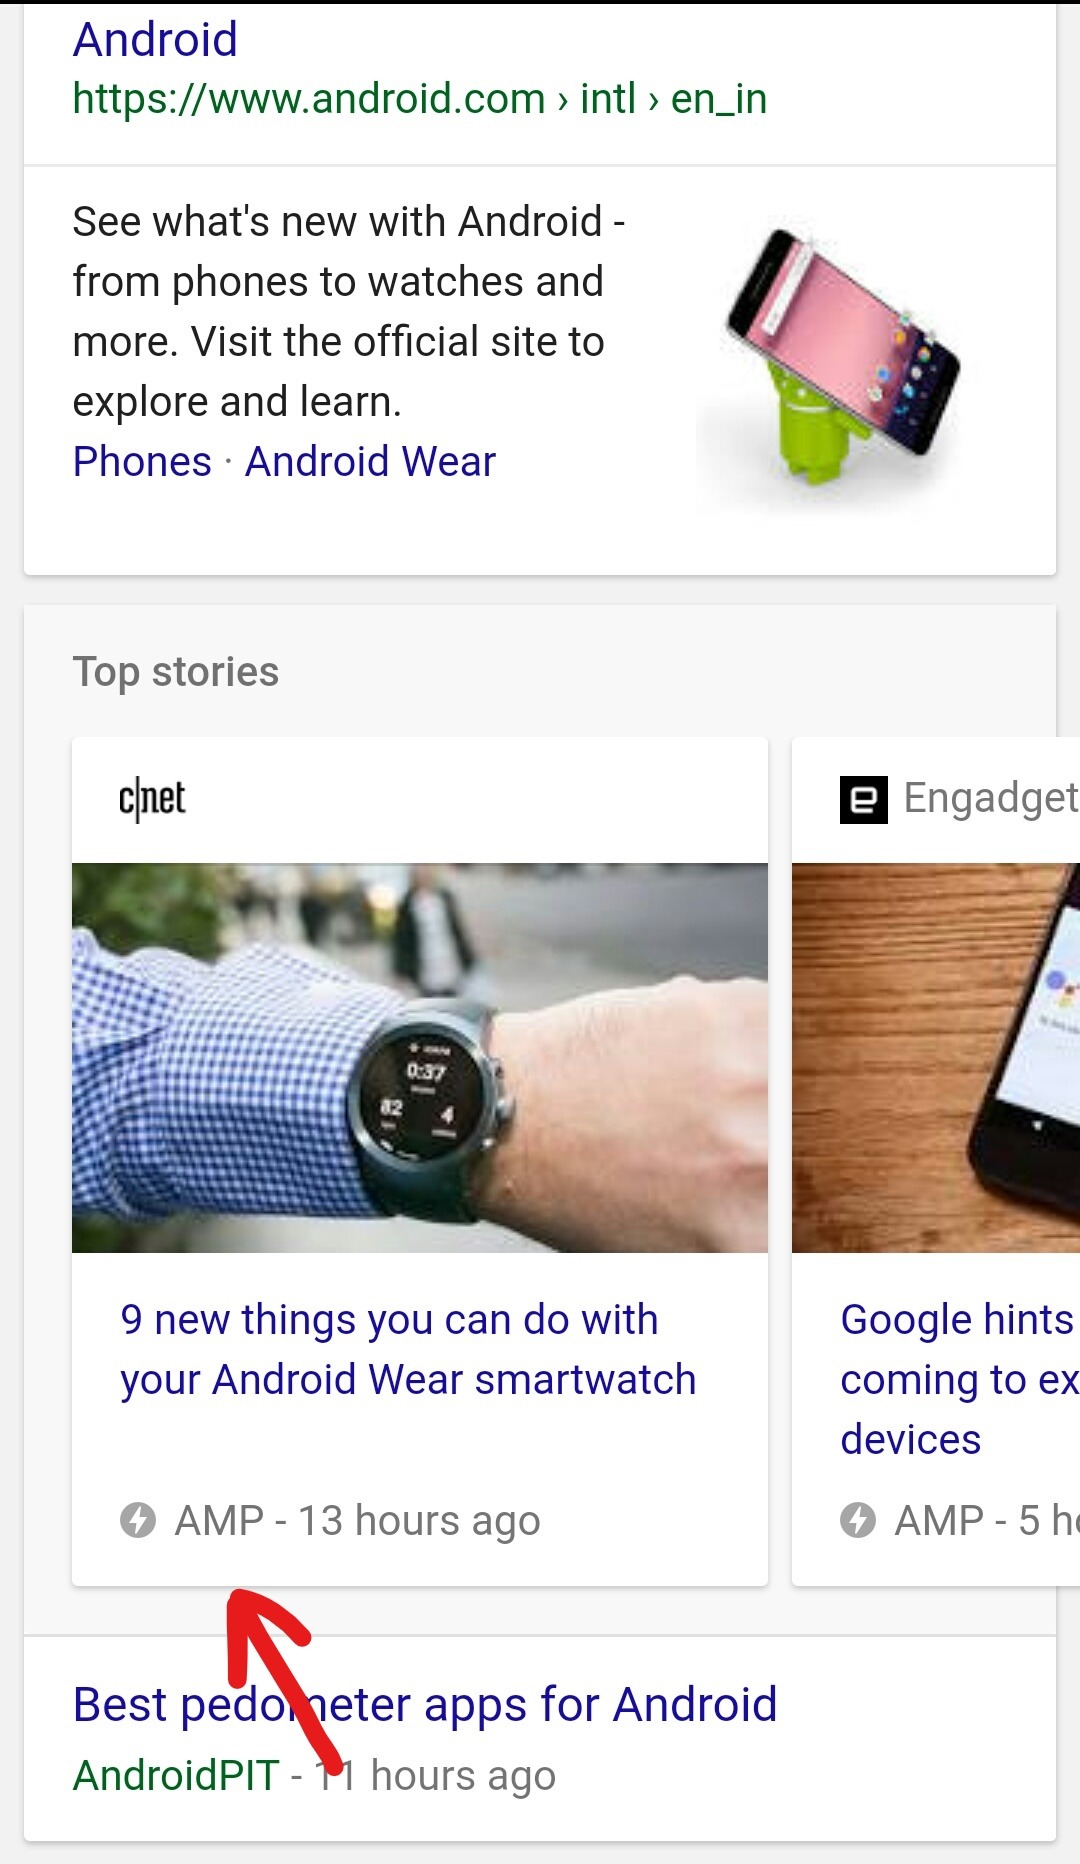
AMP pages in Google search results
Conclusion
Every second in website load time matters. User engagement significantly increases if the loading time is under 3 seconds. In early tests, Google had reported performance improvements from 15% up to 85% (source). It even leads to increased mobile visibility as Google displays AMP results in organic search listings and makes them look appealing in contrast to the non-AMP listings. It has some restrictions, but the advantages extensively override them. Optimising page loads with AMP must surely be on the checklist of every content publisher.